
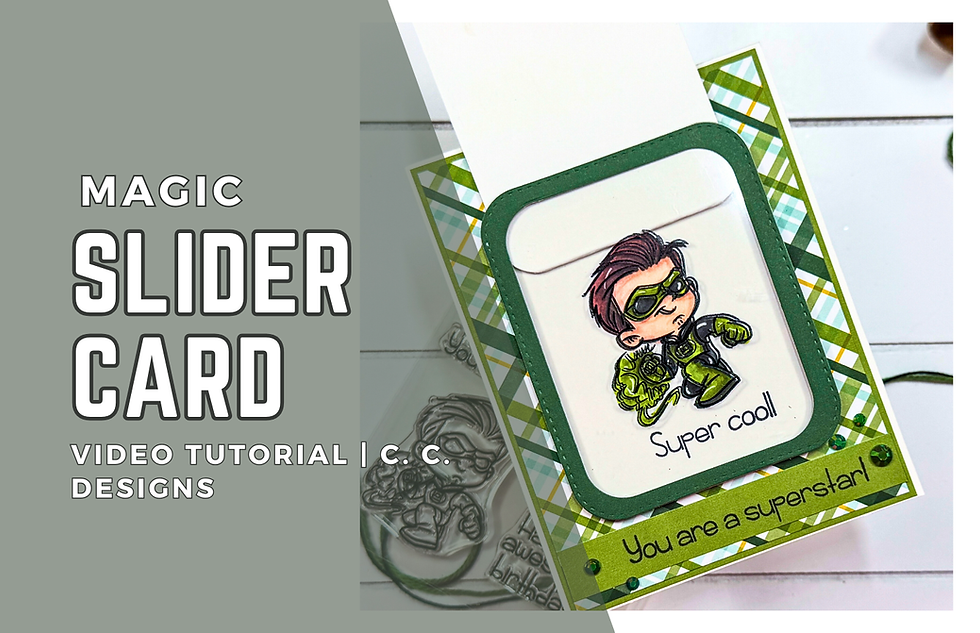
Have you ever made a card that looks simple on the outside but has a hidden surprise? That’s exactly what I’m sharing today—a Magic Slider Card featuring the Superstars Stamp Set from C. C. Designs. This interactive card is one of those designs that never fails to impress. At first glance, it looks like a simple black-and-white stamped image, but pull the tab, and suddenly, the full-color superhero is revealed!
Magic Slider Cards are a great way to add an unexpected interactive element to your projects, and they’re easier to create than they look. Once you understand the basic concept, you can adapt this technique to fit all sorts of themes and stamp sets. Today, I’m showing how I created mine using one of the superheroes from this fun stamp set—one that reminded me of Green Lantern!
Let’s dive into the details of this card and talk about how you can achieve this color-changing effect in your own projects.
Magic Slider Card:
Designing the Superhero Theme
I started by flipping through the Superstars Stamp Set, which features three different superheroes and matching sentiments. Since I wanted a bold, graphic look with a fun interactive reveal, I chose the hero inspired by Green Lantern and built my color palette around that theme.
For the background, I reached for a plaid pattern paper from the Lucky Charm 6x6 Paper Pad. When working with interactive cards, I love pulling in pattern papers that add energy and movement without overpowering the focal point. The green and white plaid had just the right balance, giving a playful nod to the character’s iconic color scheme.
Pro Tip: When choosing papers for interactive cards, go for designs that complement rather than compete with your main image. Plaids, tone-on-tone patterns, or subtle textures work especially well.
Building the Magic Slider Mechanism
The key to a smooth slider effect is precise cutting and layering. I started by cutting a piece of acetate and a piece of white cardstock to the exact same size using a small rounded stitched rectangle die from my stash. To frame the window, I used nested stitched rectangle dies to cut a frame from solid green cardstock. This gave a polished, finished look while helping to define the interactive area.
The interactive piece itself needed just a few additional cuts:
A slightly smaller stitched rectangle (trimmed down to slide smoothly within the frame).
A pull tab to help guide the reveal.
A sentiment strip and a mat layer for extra dimension.
Once all the pieces were ready, it was time for stamping.
Stamping & Coloring for the Magic Effect
The magic of this technique happens because the same stamped image appears in two places—once on acetate and once on cardstock. I started by stamping the superhero onto the acetate using Stazon Jet Black Ink. Since acetate is non-porous, you need a permanent ink that will dry quickly and not smear.
Next, I cleaned the stamp and positioned the white cardstock layer inside my Mini MISTI, making sure the stamp stayed in the exact same place. This ensures perfect alignment, which is crucial for the effect to work. After stamping in Memento Tuxedo Black Ink, I added a sentiment above the image before moving on to coloring.
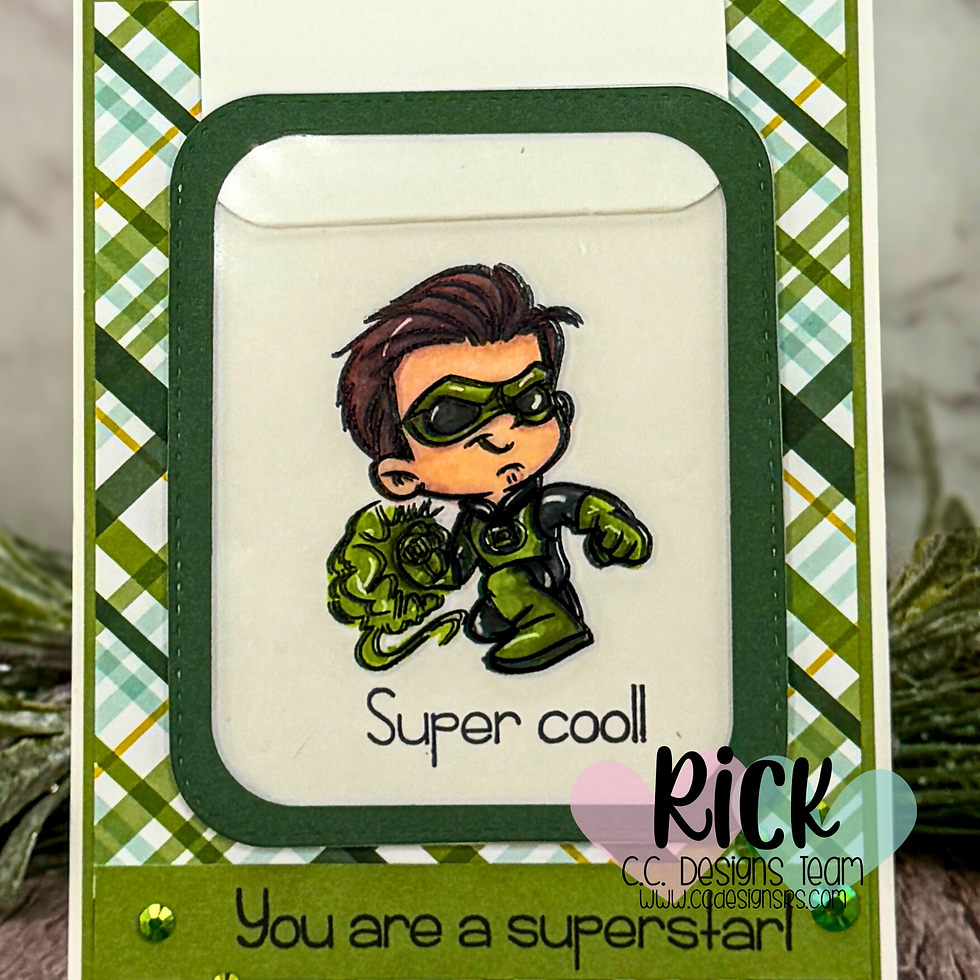
For coloring, I used Ohuhu Honolulu Brush Markers, pulling shades directly from my plaid background paper to keep everything cohesive. Matching colors from your patterned paper to your coloring medium is an easy way to make your card look coordinated and intentional.
Pro Tip: If you’re ever unsure about color combinations, let your patterned paper do the work for you! Pulling colors directly from your background makes it easy to create a balanced, harmonious design.
Assembling the Card for a Seamless Reveal
With everything colored and prepped, it was time to assemble. I adhered the plaid background onto a light green cardstock mat and attached it to a top-folding A2 card base. The acetate image was secured to the die-cut frame with strong double-sided adhesive, then I built up the edges of the frame using foam strips, leaving the top open for the slider insert.
The real trick to making this work? Aligning everything perfectly. The colored cardstock image was attached to the card base, and then the acetate window was placed on top, making sure the stamped images lined up exactly. Finally, I attached the pull tab to the back of the white cardstock insert, allowing it to slide up and down smoothly.
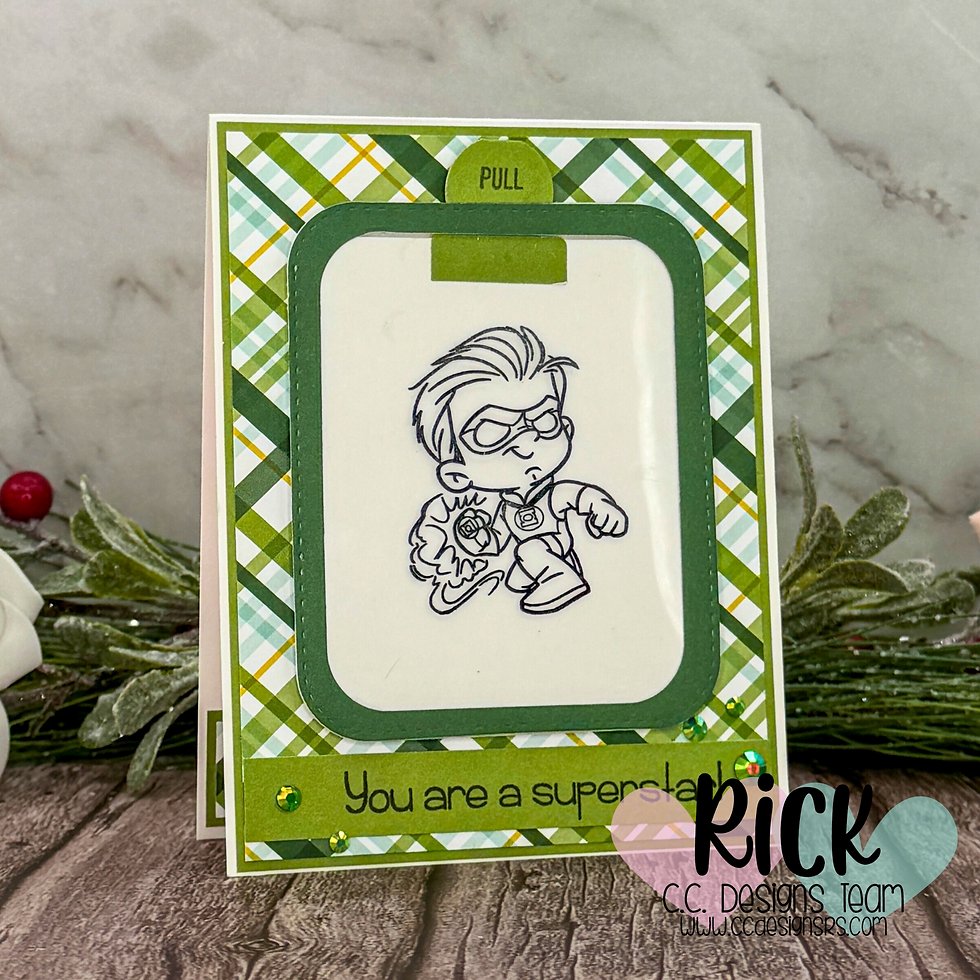
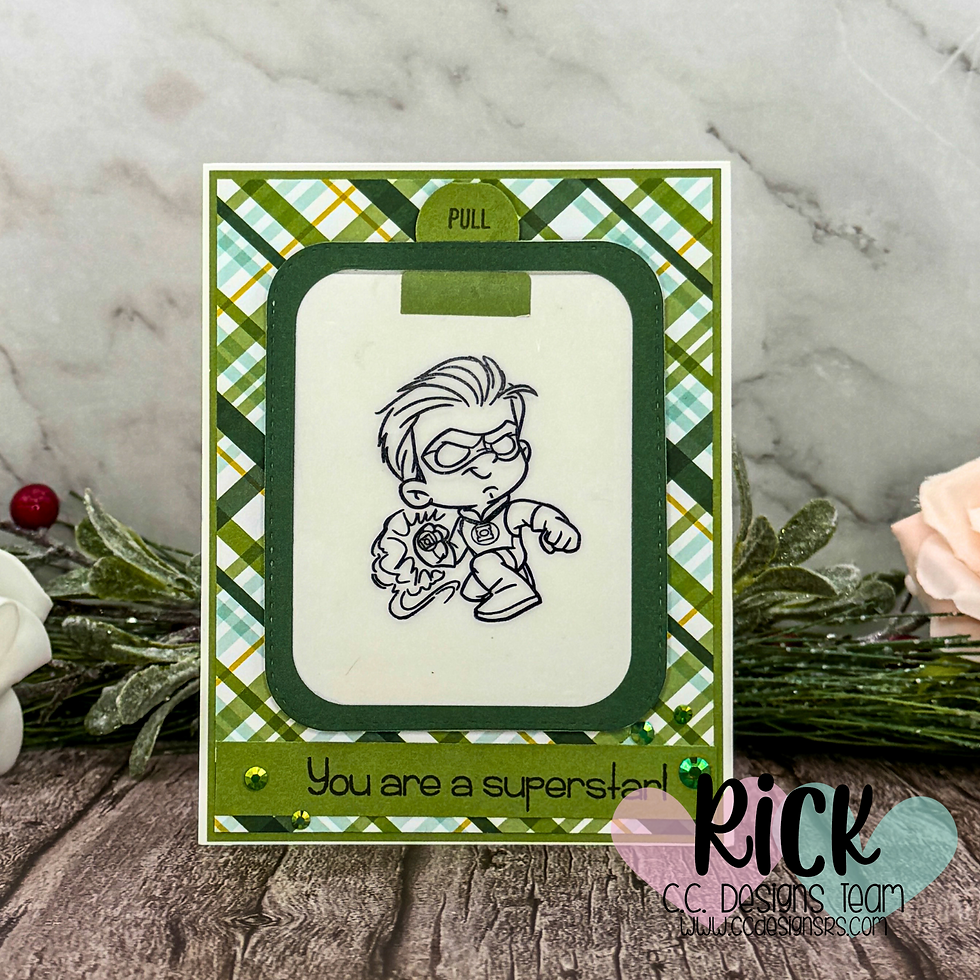
When the card is closed, you see only the black-and-white superhero stamped on the acetate. But when you pull the tab, the full-color version is revealed underneath. It’s such a fun effect!

Finishing Touches & Final Details
To complete the card, I added a sentiment strip across the front and placed a few green jewels around the design for a touch of sparkle.
Interactive cards like this one are a great way to wow your recipient with something unexpected. Whether you’re making them for birthdays, encouragement, or just for fun, Magic Slider Cards add an extra layer of excitement to handmade creations.
If you’ve never tried this technique before, I highly recommend giving it a go! And if you do, I’d love to see what you create—be sure to tag me on social media.

Watch the Video Tutorial
Want to see exactly how this card came together? Check out the full video tutorial where I walk through each step and share extra tips along the way. And don’t forget to subscribe for more interactive card ideas!
Magic Slider Card Video Tutorial:
If you have problems watching the video here on my blog you can always watch it on my YouTube Channel by Clicking here!
(Wondering what I used in this video? Everything is linked to multiple sources in the thumbnails at the end of this post, or in the text below. Compensated affiliate links used when possible). As always I appreciate your support of my videos!
Materials Used:
Here you will find the list of supplies that I used to create today's card. All supplies are linked to supply sources below. Compensated affiliate links may be used at no cost to you.
Happy Stampin'

Rick Adkins
Affiliate Disclaimer:
Just a friendly reminder, as part of my commitment to transparency, please note that some of the links provided maybe affiliate links. This means that if you make a purchase through these links, I may earn a small commission at no extra cost to you. Your support is truly appreciated!
Additionally, I kindly ask that you always accept the tracking cookie for the affiliate websites. Rest assured, this will not in any way expose your computer to viruses or compromise your information. It's simply necessary for the company to attribute the sale to the affiliate, ensuring creators like myself receive their rightful commissions.
Your trust and support enable me to continue sharing creativity through my email lists, blog, and YouTube channel. Thank you for being a valued part of our crafting community!
Comments