
Hey there, crafty friends! Welcome to another day of the Spooky & Sweet Halloween Series. Today, I’ve got a really fun project to share with you—one that’s perfect for adding a spooky yet charming touch to your Halloween card stash. We’re diving into no line coloring with a haunted house theme, and I’ll be sharing some tips on how to make it easier, so don’t worry if it’s new to you. Let’s jump in!
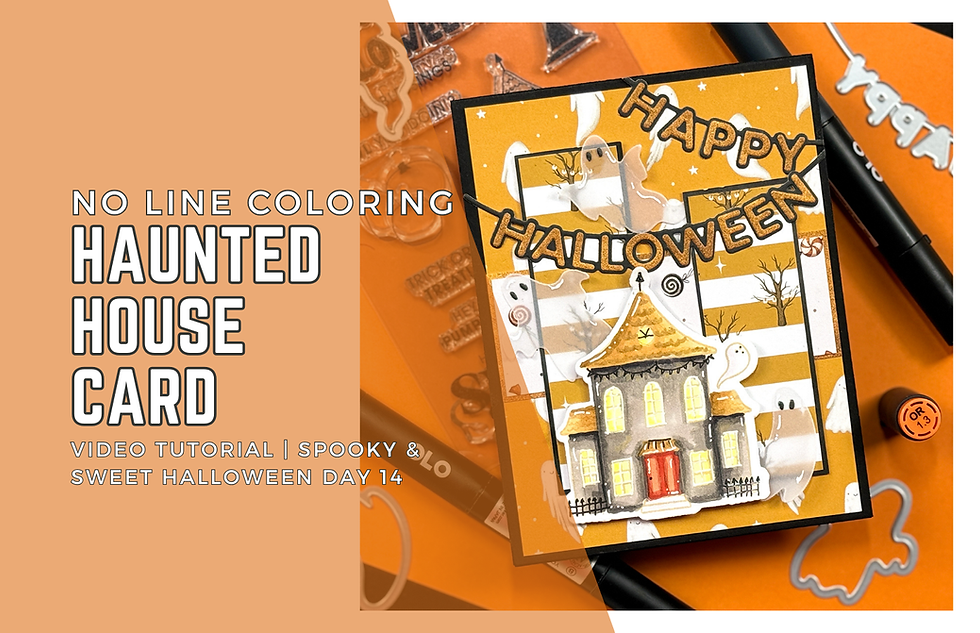
No Line Coloring Haunted House Card:
A Haunted House with No Line Coloring
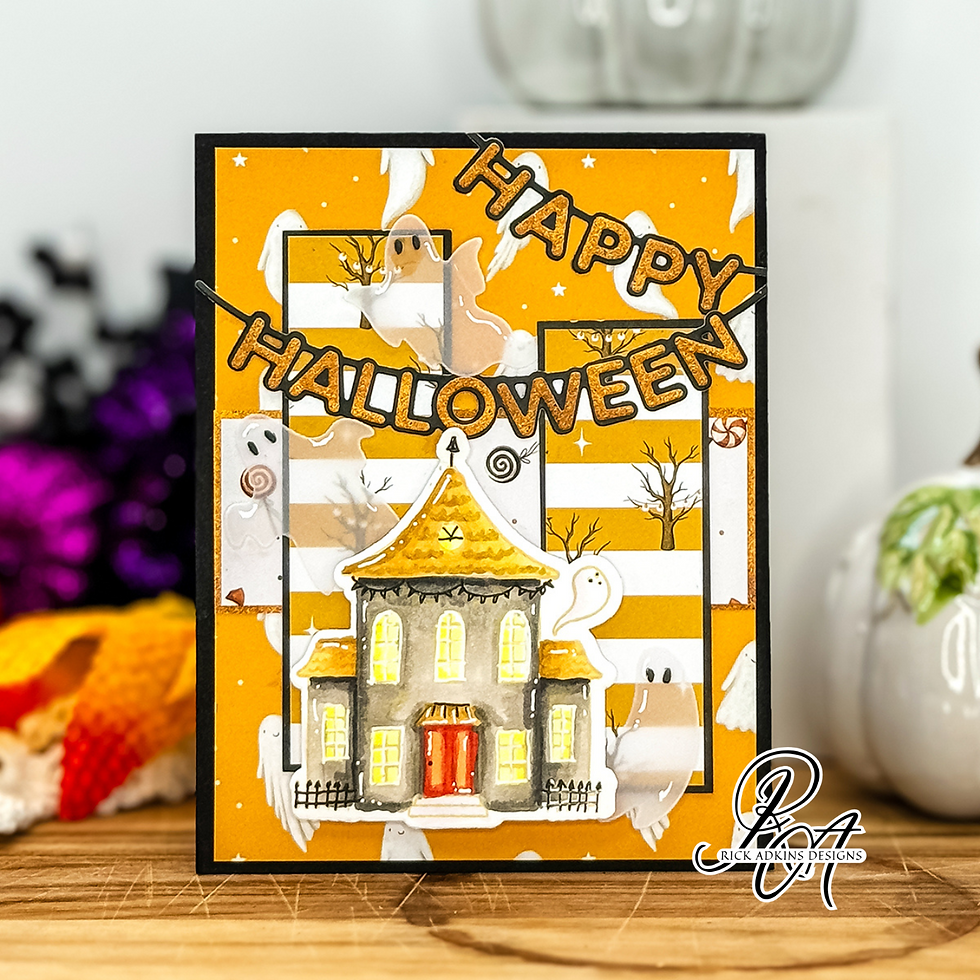
For this card, I wanted to challenge myself a little with no line coloring. It’s one of those techniques that can feel intimidating, but once you get the hang of it, it’s so rewarding! I started by picking my pattern paper first—something I often do when I want my colors to match seamlessly. The Willow Lane 6 x 8 Pattern Paper Pad from Scrapbook.com has these beautiful warm yellows, which set the tone for the whole card.
No line coloring really comes to life when your colors are soft yet defined, so I stamped the haunted house from the Spooky Stamp Set in Antique Linen Distress Oxide Ink. It’s a perfect ink for this technique because it blends right into your coloring. I colored the house with my OLO Markers, matching the warm yellows from the paper for the roof and soft grays for the house itself. The front door got a pop of orange to make it stand out, and I went for a soft yellow glow in the windows—like there’s a cozy light inside, which contrasts nicely with the spooky exterior.
Pro Tip: When you’re doing no line coloring, especially on something detailed like a haunted house, try to focus on adding shadows and highlights to give the image depth. Since you won’t have those dark stamped lines to rely on, shadows help define your shapes and make the design stand out.

Building the Card Base
Now, let’s talk card base. I love using black cardstock for Halloween cards because it makes everything pop! I used Pitch Black Cardstock for a top-folding A2 card base and added a white panel inside so there’s plenty of room to write. (And yes, I couldn't resist adding a little strip of pattern paper inside—why not carry that spooky fun throughout the whole card?)
For the front, I went with the ghost pattern paper from the Willow Lane Paper Pad. It’s playful but still fits with the haunted house theme. I love mixing different patterns when designing a card, especially when they’re all tied together by a common color. I added a matted layer with a candy print—just a small piece, but it gives the card a bit of extra interest.
Pro Tip: Don’t be afraid to mix multiple patterns in one project. When you use coordinating colors and layer them with solid mats, it creates a cohesive design without feeling too busy.
Layering Up & Creating Dimension
Once I had the base layers down, it was time to add dimension. I used the Spooky Die Set to cut out my haunted house and popped it up with foam squares to give it that 3D effect. Foam squares are a staple in my craft room! They’re perfect for adding a little lift to your focal image and making it feel like it’s coming right off the card.
Next, I die cut the banners for the sentiment from the Happy Halloween Banner Dies. I cut the letters from the same yellow pattern paper I used earlier for matting, and the banners from a black pattern paper. I love how the two colors work together to create contrast on the card front without overwhelming the design. The "Happy" banner is placed at a fun angle in the top corner, while "Halloween" stretches across the center above the haunted house.
Pro Tip: When die cutting letters or sentiments, it’s a good idea to cut them out a few times and layer them together for added dimension. Not only does it make the sentiment stand out more, but it also gives it a sturdier feel on the card.

Adding Vellum Ghosts for a Spooky Finish
One of my favorite parts of this card was adding the vellum ghosts. I die cut them using the Ghost Die Set and gave each one little black eyes (cut from the same black pattern paper I used for the matting). There’s something about vellum that makes the ghosts look like they’re floating on the card, which really brings the whole haunted scene to life.
I placed them around the haunted house and sentiment, letting them "float" across the card. I love how subtle yet effective vellum can be for spooky designs—plus, it’s a fun way to add another texture without adding bulk.
Pro Tip: Vellum can be tricky to adhere since most adhesives show through. I like to use tiny dots of liquid glue behind the solid parts of my die cuts (like the eyes on these ghosts) to keep the adhesive hidden while still securing the pieces in place.

Finishing Touches
To finish off the card, I added a few white gel pen highlights to the haunted house and the ghosts. It’s a simple touch, but it really helps bring the design to life by adding contrast and depth. I also used a black gel pen to bring back some of the details on the haunted house that got softened during the coloring process—like the fence and the little weather vane on the roof. It’s a small step, but those details can make a big difference in the finished look.

No Line Coloring with OLO Markers Video Tutorial:
If you have problems watching the video here on my blog you can always watch it on my YouTube Channel by Clicking here!
Wrapping It Up
This haunted house card was so much fun to make, and I hope you feel inspired to try no line coloring on your next Halloween project! It’s one of those techniques that might feel tricky at first, but with some practice (and patience), you’ll love the soft, seamless results it creates. Plus, adding in those vellum ghosts? Definitely a highlight for me!
Make sure to check out the video tutorial for a closer look at how I put everything together. And don’t forget to share your spooky creations with me—I’d love to see what you make!
Affiliate Disclosure: Some of the products used in this post contain affiliate links, which means I earn a small commission at no additional cost to you. Thank you for supporting my blog!
Happy crafting!
OLO Color Combinations:

Haunted House - WG9, WG7, WG5, WG3 (house); YO2.7, YO2.5, YO2.3 (roof); O2.7, OR1.6, OR1.3, OR 1.2 (door); Y1.2, Y1.1 (windows); WG1 (steps)
Ghost - CG1, CG0
Materials Used:
Here you will find the list of supplies that I used to create today's card. All supplies are linked to supply sources below. Compensated affiliate links may be used at no cost to you.
Happy Stampin'

Rick Adkins
Affiliate Disclaimer:
Just a friendly reminder, as part of my commitment to transparency, please note that some of the links provided maybe affiliate links. This means that if you make a purchase through these links, I may earn a small commission at no extra cost to you. Your support is truly appreciated!
Additionally, I kindly ask that you always accept the tracking cookie for the affiliate websites. Rest assured, this will not in any way expose your computer to viruses or compromise your information. It's simply necessary for the company to attribute the sale to the affiliate, ensuring creators like myself receive their rightful commissions.
Your trust and support enable me to continue sharing creativity through my email lists, blog, and YouTube channel. Thank you for being a valued part of our crafting community!
Comments