Simple Supplies Dramatic Results With WOW Embossing Powders
- Rick Adkins
- Apr 8, 2024
- 3 min read
Updated: Apr 14, 2024
Hello and welcome to the blog, I am back with you again today to share with you my project for WOW Embossing Powders that I shared this morning on their blog. This week I am going to share with you how to take simple supplies and get a dramatic result using WOW Embossing Powders.
Simple Supplies Dramatic Results With WOW Embossing Powders:
When you take a few simple supplies like stamps, ink, embossing powders and a little cardstock you can create a beautiful and dramatic looking card design. And the best part is this is the best kind of drama. It's all about the drama you can get on a beautiful card.
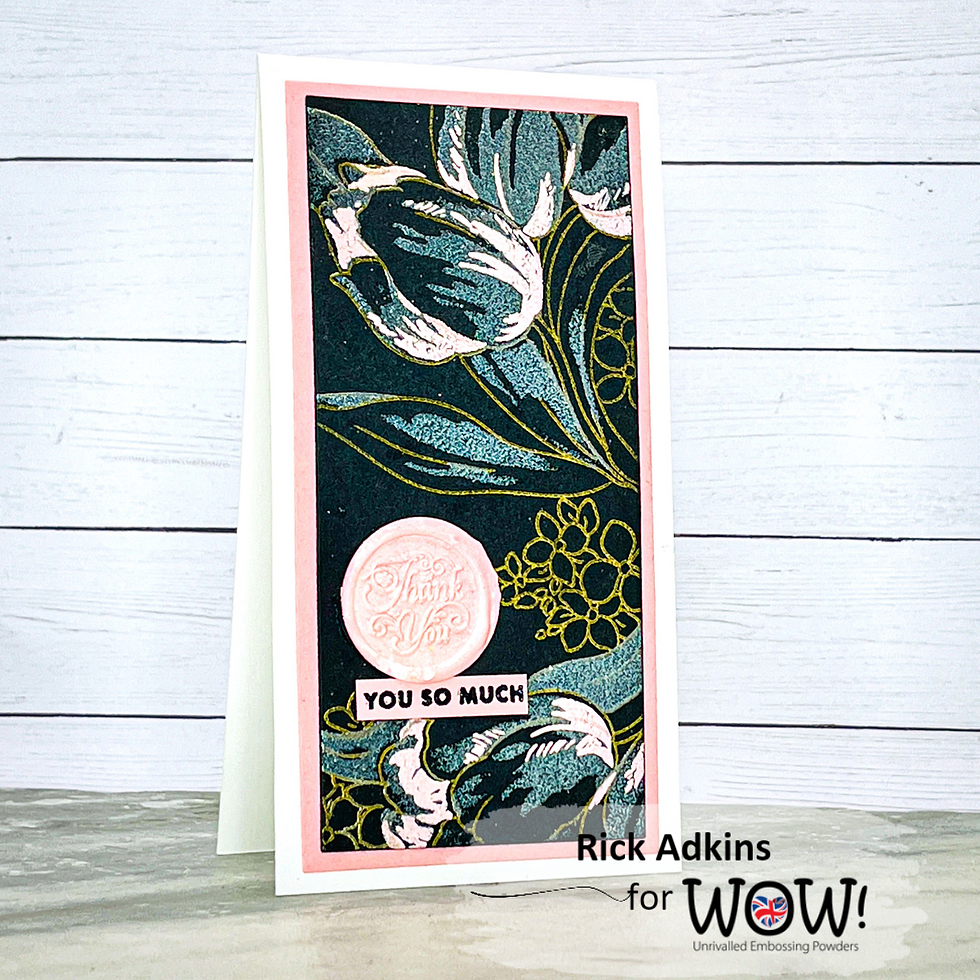
The first thing you are going to do is to stamp the outline of your floral image or other layering image onto a piece of dark colored cardstock. Make sure to stamp your chosen image using your WOW! Clear Ultra Slow Drying Embossing Pad.
Cover the embossing ink with Wow Polished Gold - Super Fine Embossing Powder and heat set.
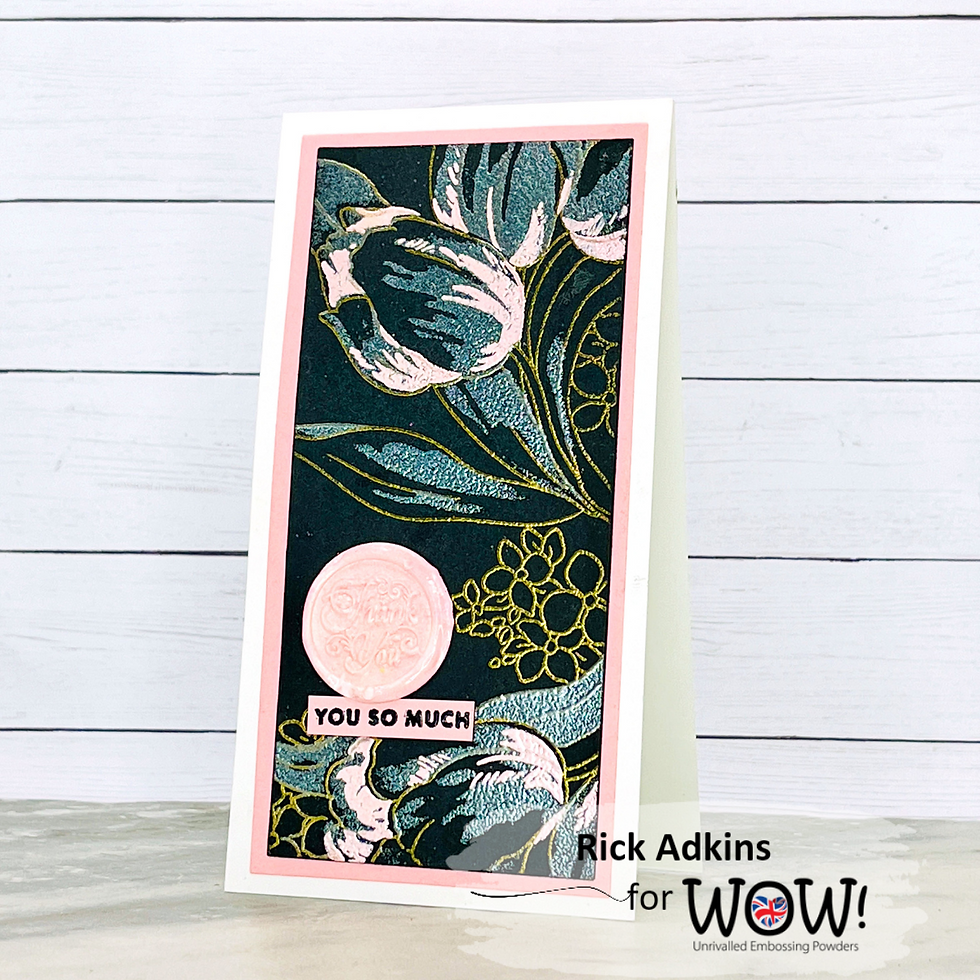
Next you are going to either use color layering stencils or the next layer in your stamp set that layers your floral image. I used my layering image for this layer on my card. I stamped this layer in the Ultra Slow Drying Embossing Ink. And covered it with WOW! White Pearl Embossing Powder, and heat set it with my heat tool. The White Pearl Embossing Powder on dark cardstock gives a beautiful luster and changes the color of the cardstock.
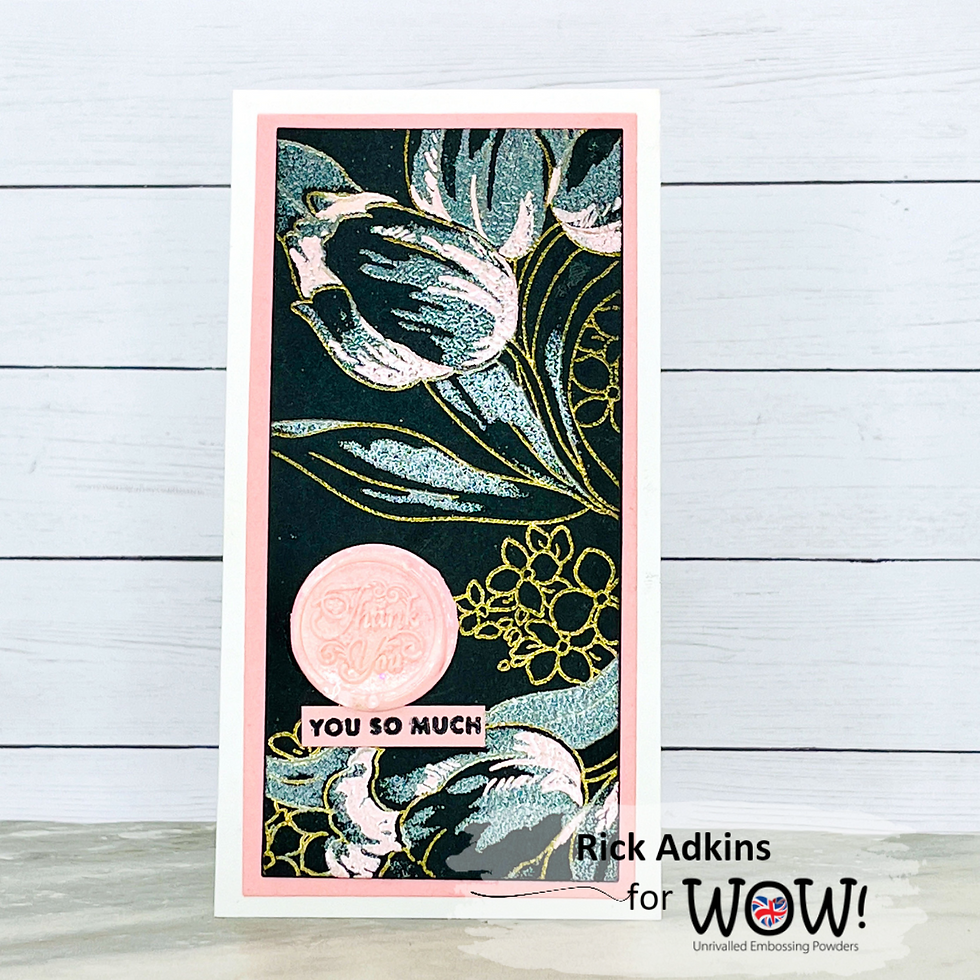
After this layer has cooled, it's time to add the next layer of color. For this layer I used the color layering stencil to add a layer of embossing ink with a sponge dauber. I then covered and heat set this layer with WOW! Pastel Pink Embossing Powder.
Next I added a layer of WOW! White Pearl Embossing Powder to the leaves of the tulips on my card design. Once I had that finished I cut out this panel into a Mini Slimline Layer. I then added that to a Pink cardstock mat layer before adding them to a top folding Mini Slimline card base.
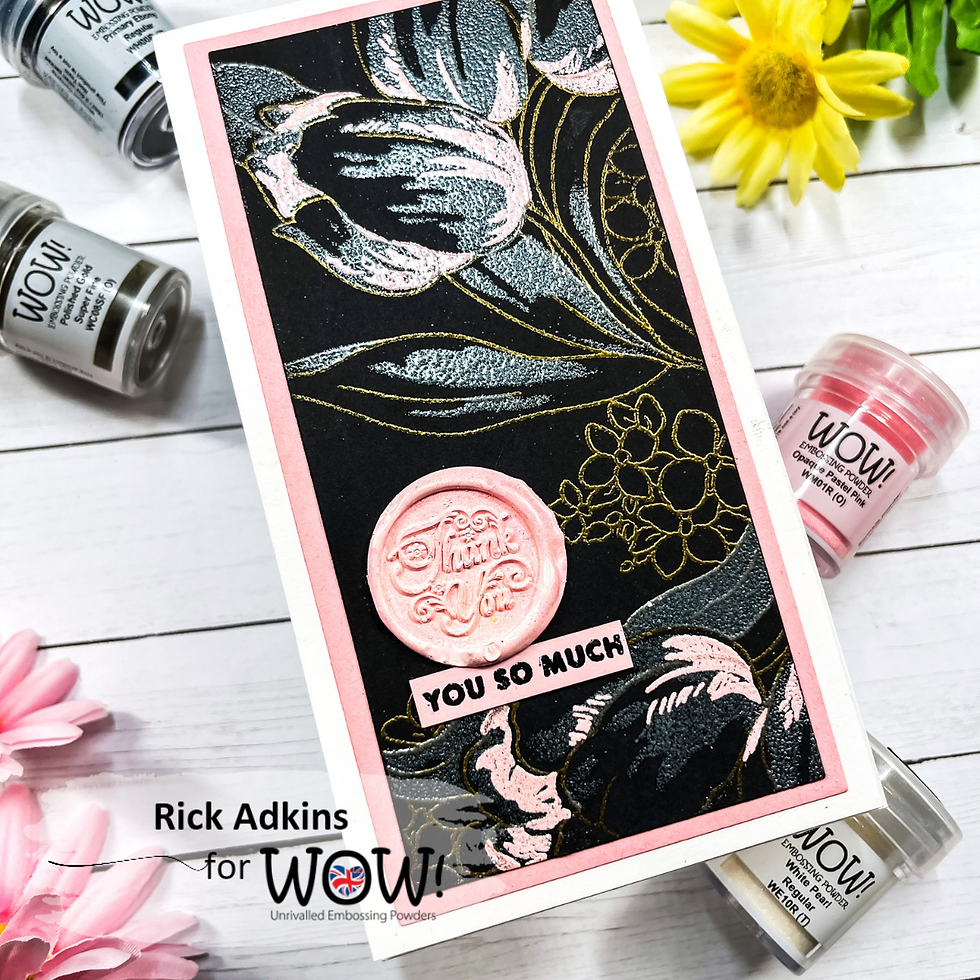
I then wanted to add a little more drama, so I cut out a 1 1/4" (3.175 cm) circle from a scrap of cardstock. I covered the circle with WOW! Clear Ultra Slow Drying Embossing Pad. Then poured a layer of the Pastel Pink Embossing Powder. I let that cool and added three more layers of embossing powder heat setting between each. While the last layer of still hot I put in a wax seal stamp (that I had coated with embossing ink).
I removed the wax seal after a few seconds and let it cool completely. Once the heat embossed wax seal was completely cooled I added it to the card front with just a little liquid glue.
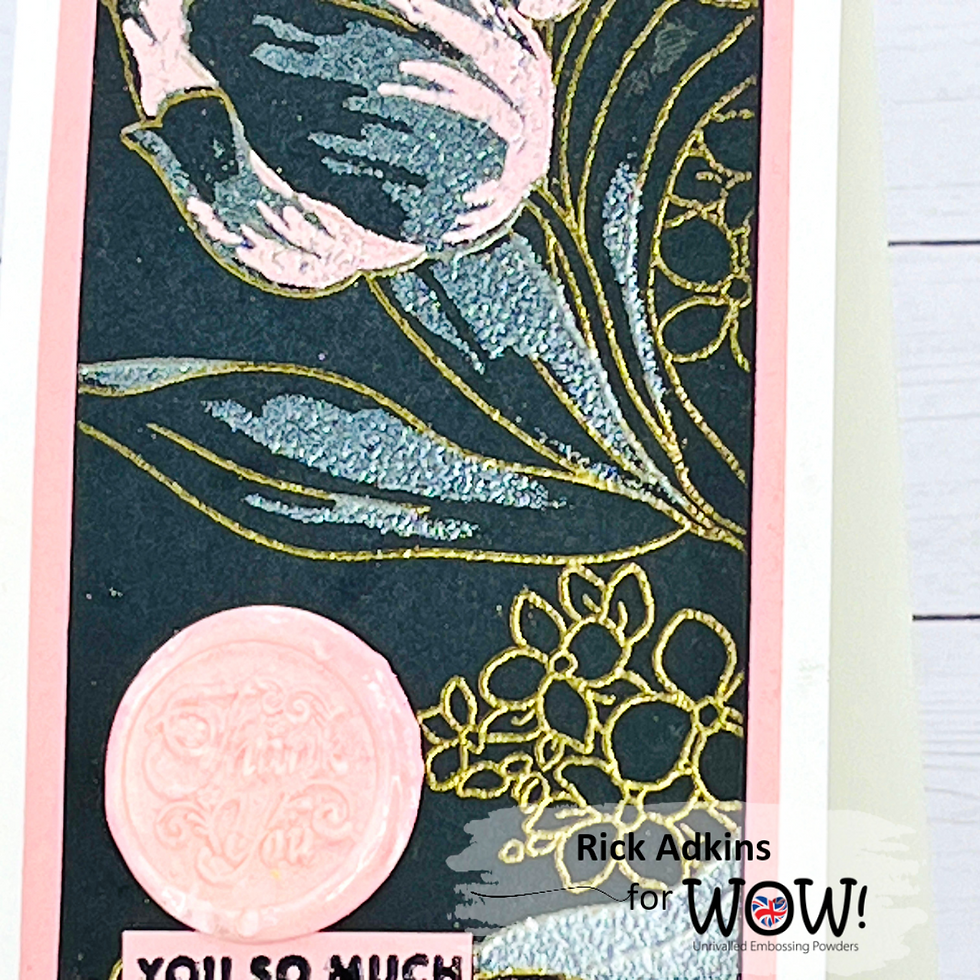
I took a sub-sentiment and stamped it in Ultra Slow Drying Embossing Ink and covered it with WOW! Primary Ebony Embossing Powder and heat set it. I attached the sub-sentiment with a little liquid glue under the heat embossed wax seal. And that finished off my card.
(Wondering what I used in this video/project? Everything is linked to multiple sources in the thumbnails at the end of this post, or in the text below. Compensated affiliate links used when possible).
Well there you have it my friends how to take a few simple supplies and create a dramatic result with WOW Embossing Powders. I will see you again soon.
Pin Me:
Follow me on Pinterest and save this image to your favorite card making board!

Materials Used:
Here you will find the list of supplies that I used to create today's card. All supplies are linked to supply sources below. Compensated affiliate links may be used at no cost to you.
Happy Stampin'

Rick Adkins

Comments