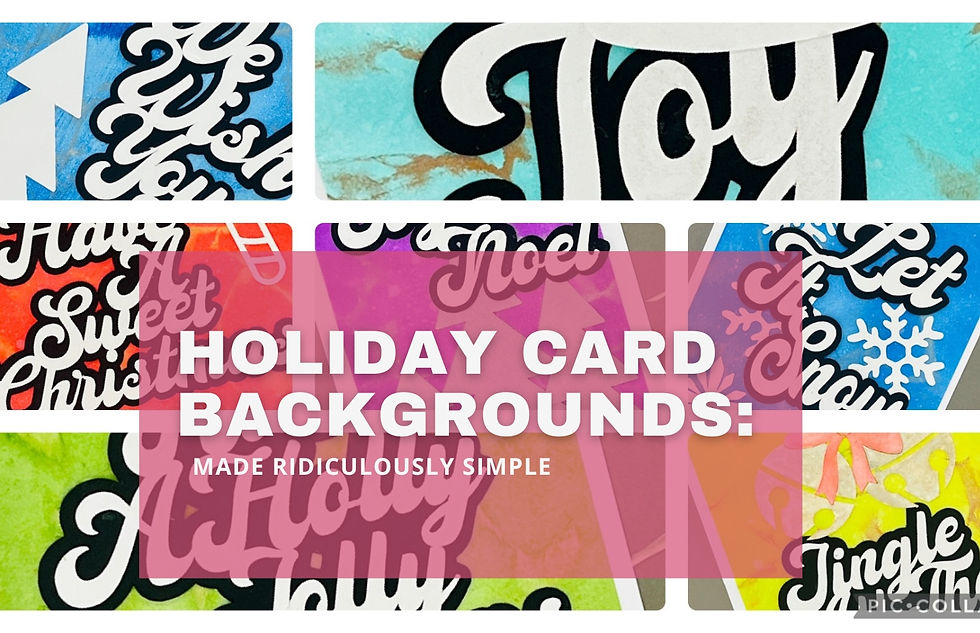
Unveiling Effortless Holiday Card Backgrounds with Die-Cut Sentiments
- Rick Adkins

- Aug 17, 2023
- 3 min read
Hey there, fellow card makers! Ready to dive into a card-making adventure that's both easy and totally wow-worthy? If you're anything like me, you love creating cards that stand out, especially during the holiday season. But let's be real, time can be tight, and complex techniques can be a bit overwhelming. That's where today's exciting topic comes in: creating mind-blowing card backgrounds with die-cut sentiments in the simplest way possible.

Simplifying Backgrounds for Stunning Results

Picture this: eye-catching holiday cards that dazzle without taking hours to make. Whether you're a seasoned card-making pro or just starting out, we can all agree that simplicity often leads to the most stunning results. And that's exactly what we're aiming for here. With a little magic, we'll create backgrounds that steal the show and give you more time to enjoy the festive season.
Unleashing the Imperfect Ink Blending Magic

Now, let's talk about that charming texture that makes your cards truly one-of-a-kind. We all know how ink blending can be therapeutic, but have you ever tried the "imperfect" way? Here's the scoop: take a piece of white cardstock, blend your favorite ink colors in a whimsical, imperfect manner, and then, wait for it… crumple it up! Yep, you heard me right. Give it a gentle crumple and then unfold it. The result? A captivating texture that adds depth and character to your backgrounds.
Adding Some Shimmer with Metallic Inks

Oh, the magic of metallics! If you're like me, you're a sucker for a bit of shimmer. Once your ink-blended and crumpled masterpiece is ready, it's time to grab your metallic inks. These little wonders take your textured background to a whole new level. Apply them strategically to accentuate the creases and folds, letting the light play off your card in the most delightful way.
Diving into Die-Cut Sentiments and Elements

Now, let's talk about die-cut sentiments and elements – those little details that pack a big punch. They're like the cherry on top of your creative cake. Imagine pairing your textured background with a bold sentiment or a delicate die-cut element. It's the kind of combination that turns heads and sparks conversations.
Putting It All Together: Your Step-by-Step Guide

Alright, let's get down to business with a step-by-step guide. Grab your inks, cardstock, and your favorite metallic shades. I promise, you'll be amazed by how easy this process is. From ink blending to crumpling, unfolding, and those magical metallic touches – we've got you covered every step of the way.
Creating Your Masterpieces

Now, the fun part: putting your backgrounds to work! Play around with different die-cut elements, sentiments, and placements. Make them uniquely yours by experimenting with colors and arrangements. Remember, there's no right or wrong – just a canvas waiting for your creative touch.
Showcasing Your Creations and Spreading the Joy

Here's the deal – once you've mastered this technique, don't keep it to yourself! Share your creations on social media, connect with fellow card makers, and spread the joy of easy yet impressive card-making. Who knows, your creation might just inspire someone else to pick up their crafting supplies and join in the fun!
Video Tutorial:
So, my friends, there you have it – a simple yet spectacular way to create holiday card backgrounds that'll leave everyone asking, "How did you do that?" The magic lies in the playful imperfections, the gleam of metallics, and the power of die-cut elements. Remember, even in the midst of holiday chaos, you've got the tools to craft some seriously stunning cards. Now, let's get crafting and turn those card-making dreams into reality!
Pin Me:
Follow me on Pinterest and save this image to your favorite card making board!

Materials Used:
Here you will find the list of supplies that I used to create today's card. All supplies are linked to multiple sources below. Compensated affiliate links may be used at no cost to you.
Hero Arts Supplies:
Stampin' Up! Supplies:
Happy Stampin'

Rick Adkins


Comments