
Wicked Center Step Card: Video Tutorial | Scrappy Boy Stamps
- Rick Adkins
- Feb 25
- 4 min read
There’s something magical about a center step card—it instantly adds dimension and makes your focal images pop without a lot of extra effort. And when you pair that with the whimsical Chance to Fly collection from Scrappy Boy Stamps, you get a truly enchanting design.
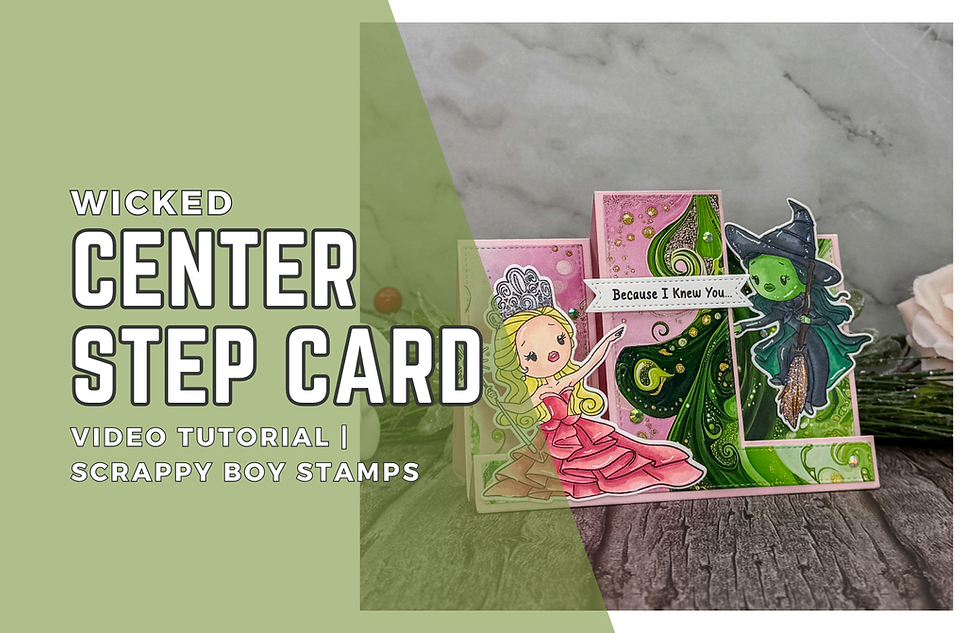
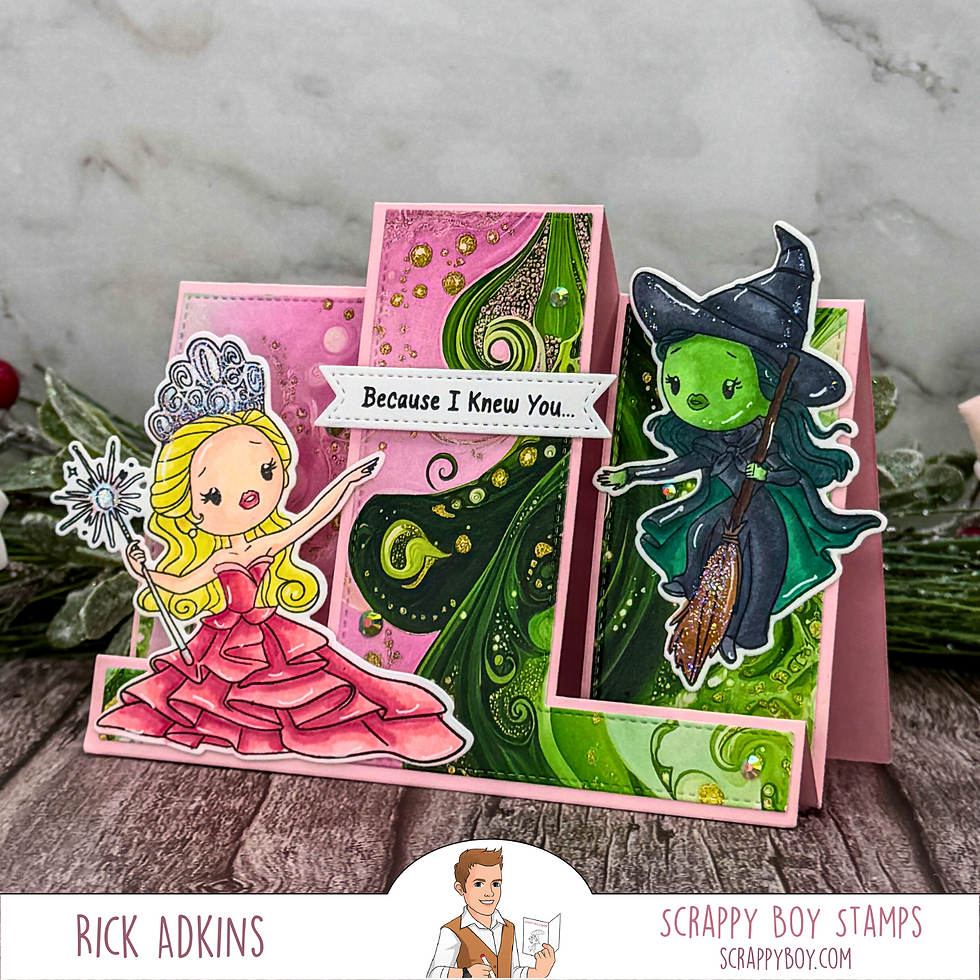
For today’s card, I brought Glinda and Elphaba to life using The Chance to Fly Stamp Set and coordinating Outline Dies, setting them against a beautifully layered A2 Trio Fold Card Die base. The best part? This die does all the heavy lifting—no more measuring and second-guessing where to cut and score. If you’ve ever struggled with fun folds, this one is a game changer.
Let’s take a closer look at how this card came together and why this die set makes interactive cards so much easier.
Wicked Center Step Card:
Stamping & Coloring: Bringing the Characters to Life
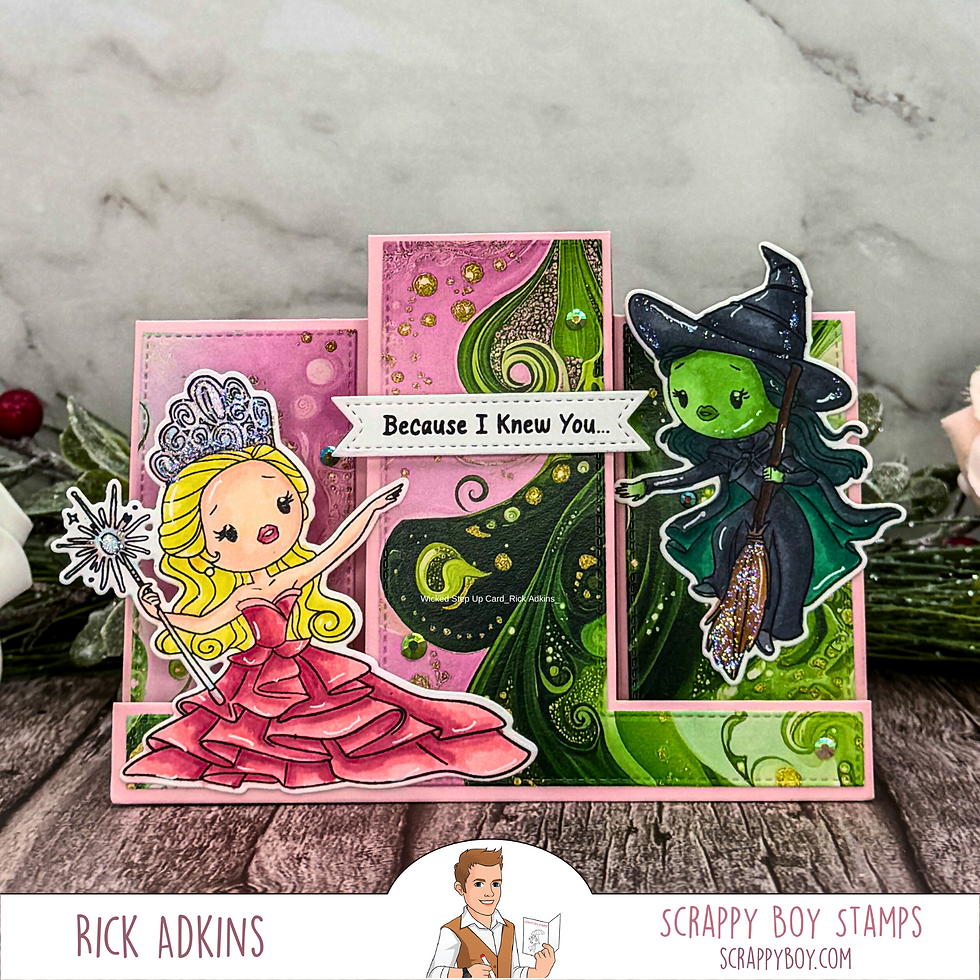
One of my favorite parts of card making is choosing colors that tell a story. For this design, I knew I wanted to play up the contrast between the two witches—Glinda with her soft, delicate hues and Elphaba with her signature deep greens.
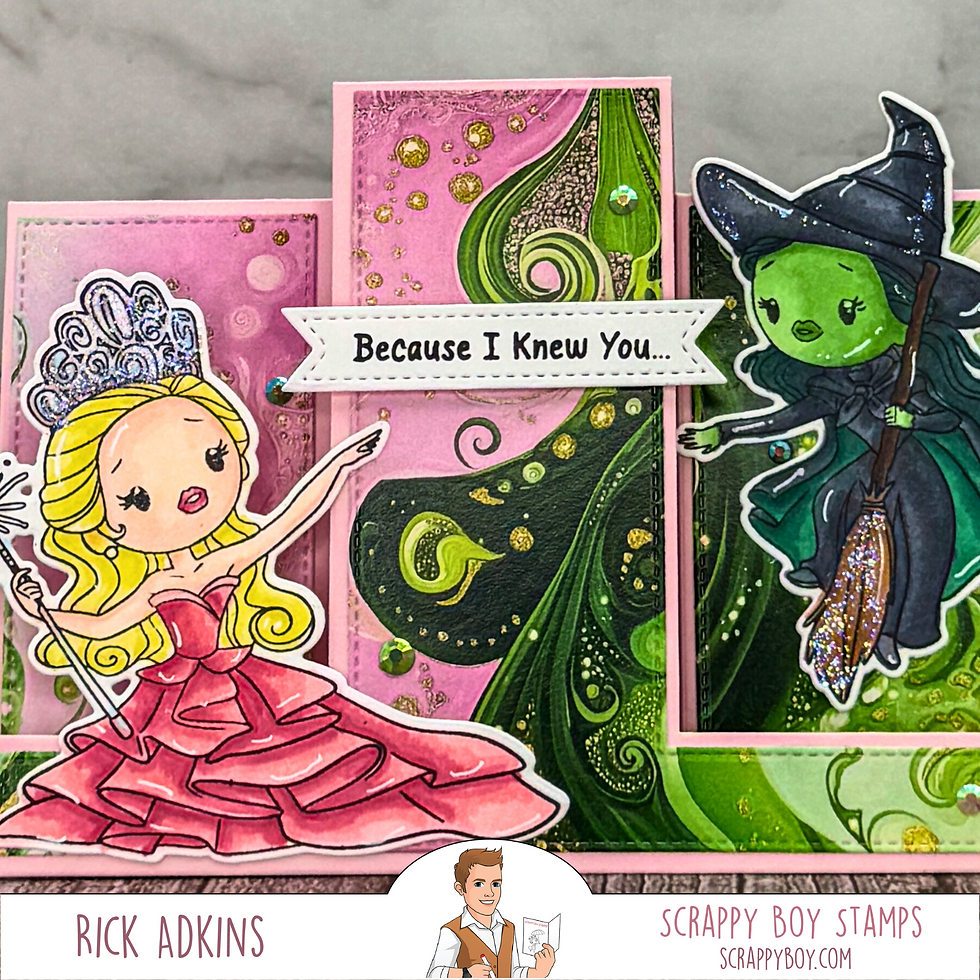
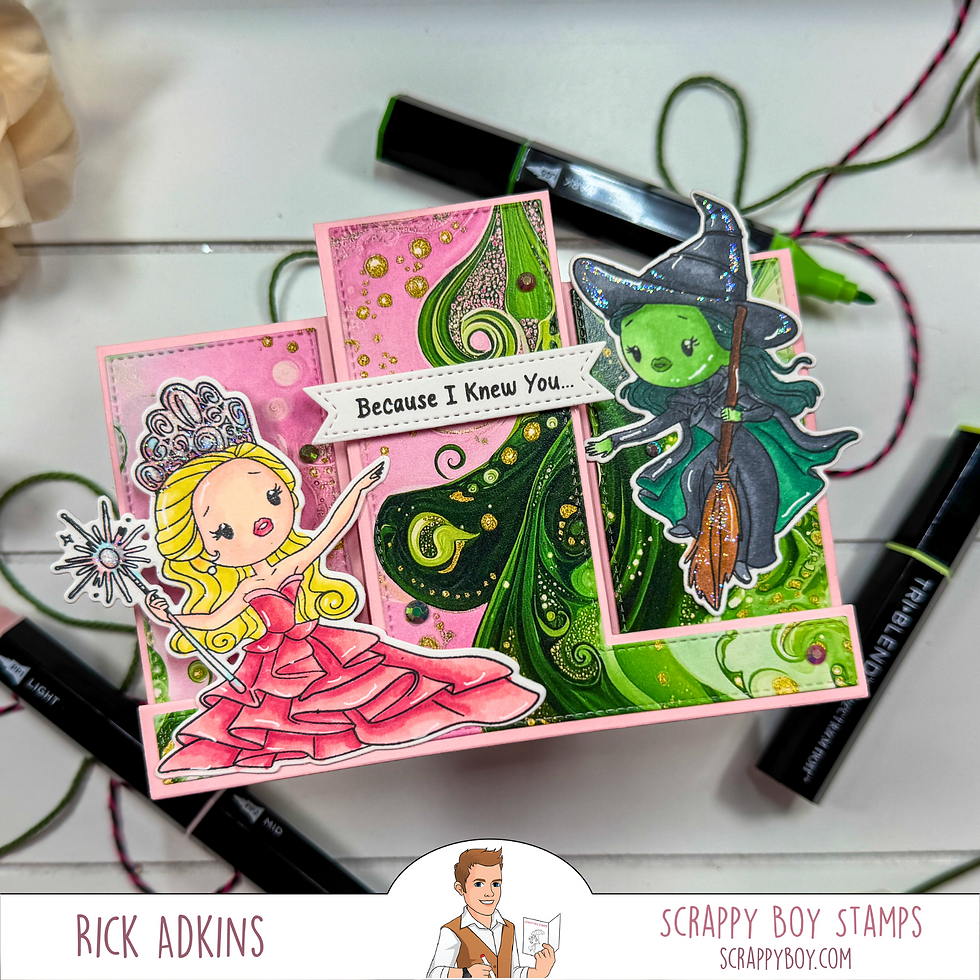
I started by stamping both images in Memento Tuxedo Black Ink onto Neenah Solar White Classic Crest 80 lb cardstock. I love using this combination with Spectrum Noir Triblend Markers because it prevents smudging and gives me smooth blending.
Glinda: I kept her classic with soft pinks and creamy yellows, giving her an ethereal, light feel.
Elphaba: Deep greens and some black which adds a striking contrast, making her feel like she was mid-flight, ready to cast a spell.
Once colored, I used the matching Outline Dies for a clean, precise cut. I always recommend using coordinating dies when possible—they save time and give the images a polished look without having to fussy cut.
Pro Tip: If you want even more dimension, try die-cutting a second set of each character from a piece of scrap cardstock and layering them behind your colored images. This creates a sturdy, chipboard-like effect that helps the elements stand out even more.
Why the A2 Trio Fold Card Die is a Must-Have
I’ll be honest—before having this die, I used to avoid making center step cards. Trying to figure out where to cut and score while keeping everything symmetrical was just too much of a headache. But with the A2 Trio Fold Card Die, all the guesswork is gone.
This die set cuts, scores, and creates the perfect center step card base in one pass. No more measuring. No more worrying if the folds will be even. The hardest part is choosing which cardstock and pattern paper to use!
For the base, I chose a soft pink cardstock, which paired beautifully with The Chance to Fly 6x6 Pattern Paper Pack. The stitched panel dies in the set made layering effortless. I selected a gorgeous swirl-patterned paper with pinks, greens, and a hint of gold accents—perfect for the whimsical feel of this card.
Pro Tip: When cutting patterned paper layers for fun fold cards, lay out all your die-cut panels first before adhering them. This helps you visualize the final look and ensures the pattern flows naturally across the card.
Assembly & Finishing Touches
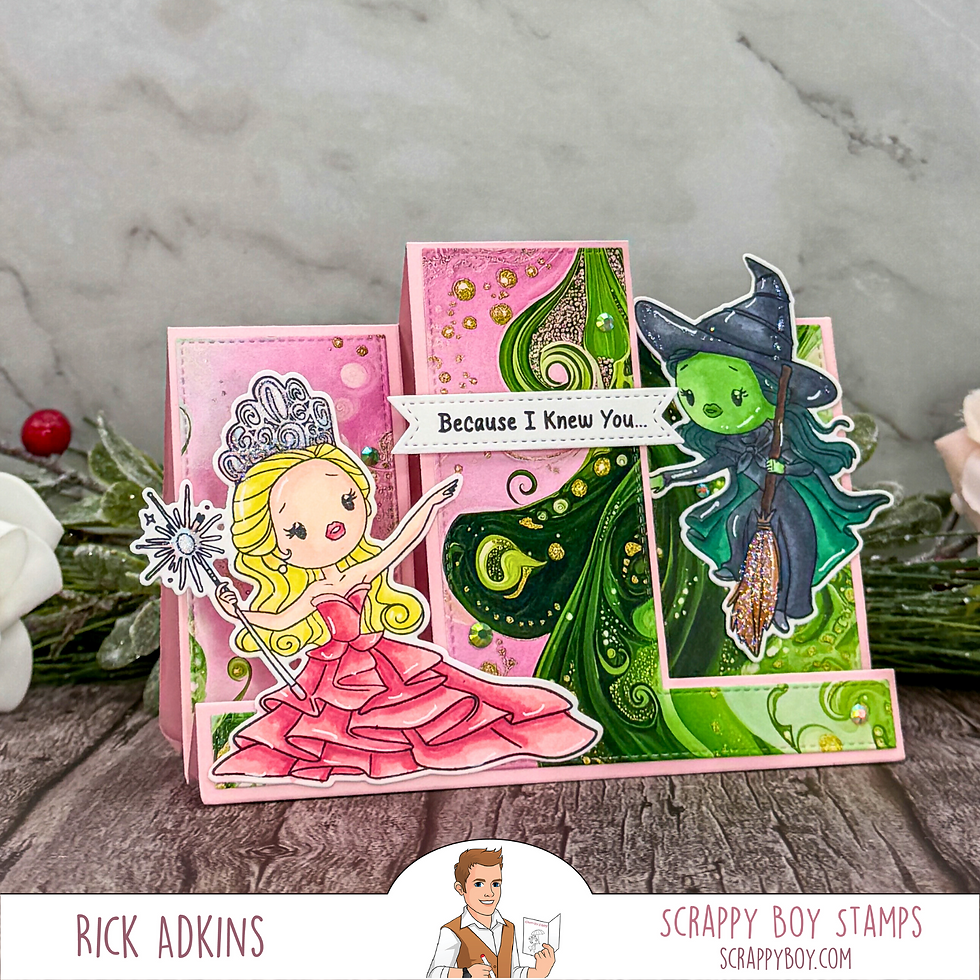
With the base folded and my panels adhered, it was time to bring everything together. I positioned:
Glinda on the bottom left front step, grounding her on the card design.
Elphaba on the top right step, making her appear as if she’s flying.
A stitched sentiment banner on the center step panel to tie everything together.
To add a bit of sparkle (because what’s a magical card without some shimmer?), I scattered pink and green gems from my stash across the card.
Pro Tip: When placing embellishments, think about balance. If you have a heavier focal point in one area, add a few smaller details in other areas to create a visually pleasing composition.
Envelope Considerations & Final Thoughts
One thing to keep in mind when designing interactive or layered cards is envelope size. Since Glinda and Elphaba slightly extend beyond the edges of my A2 card base, I would slip this into a 5x7 envelope for extra room. But if you keep everything within the card base, this design fits perfectly in a standard A2 envelope.
I love how this card turned out—it has just the right amount of dimension and movement while still being easy to assemble. If you’ve been hesitant to try fun folds, the A2 Trio Fold Card Die is a fantastic way to simplify the process.
What’s your favorite fun fold design? Let me know in the comments, and be sure to check out the video tutorial for a closer look at how this card came together.
Wickedly Easy Center Step Card Video Tutorial:
If you have problems watching the video here on my blog you can always watch it on my YouTube Channel by Clicking here!
(Wondering what I used in this video? Everything is linked to multiple sources in the thumbnails at the end of this post, or in the text below. Compensated affiliate links used when possible). As always I appreciate your support of my videos!
Materials Used:
Here you will find the list of supplies that I used to create today's card. All supplies are linked to supply sources below. Compensated affiliate links may be used at no cost to you.
Happy Stampin'

Rick Adkins
Affiliate Disclaimer:
Just a friendly reminder, as part of my commitment to transparency, please note that some of the links provided maybe affiliate links. This means that if you make a purchase through these links, I may earn a small commission at no extra cost to you. Your support is truly appreciated!
Additionally, I kindly ask that you always accept the tracking cookie for the affiliate websites. Rest assured, this will not in any way expose your computer to viruses or compromise your information. It's simply necessary for the company to attribute the sale to the affiliate, ensuring creators like myself receive their rightful commissions.
Your trust and support enable me to continue sharing creativity through my email lists, blog, and YouTube channel. Thank you for being a valued part of our crafting community!
Comments